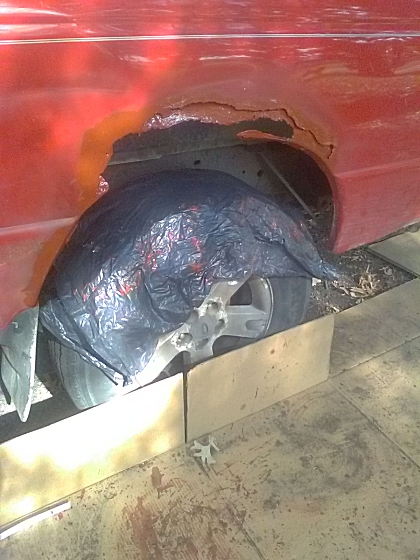
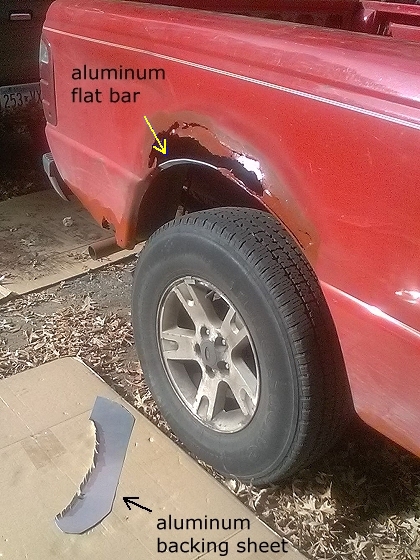
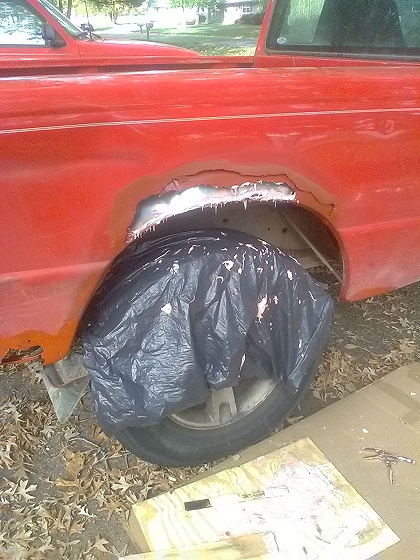
October 20 2021 One of my more ambitious and successful body restorations. It's my 2003 Ford Ranger. I also did a successful bypass of the egr valve on my 1995 Ranger; saving myself a $1200 bill for egr and exhaust manifold replacement. It's like having two new trucks again. Seven pictures:
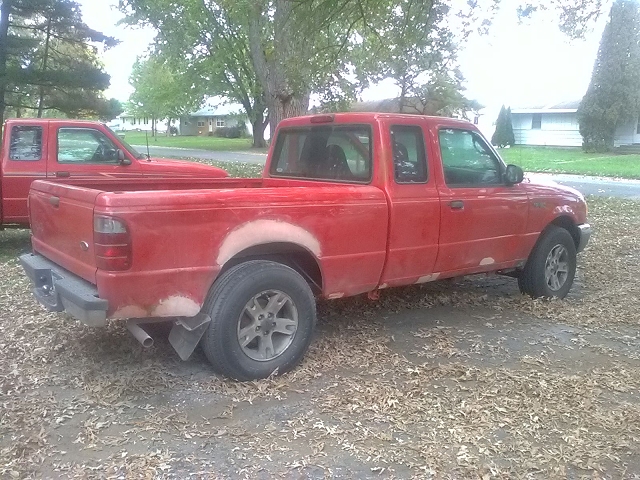

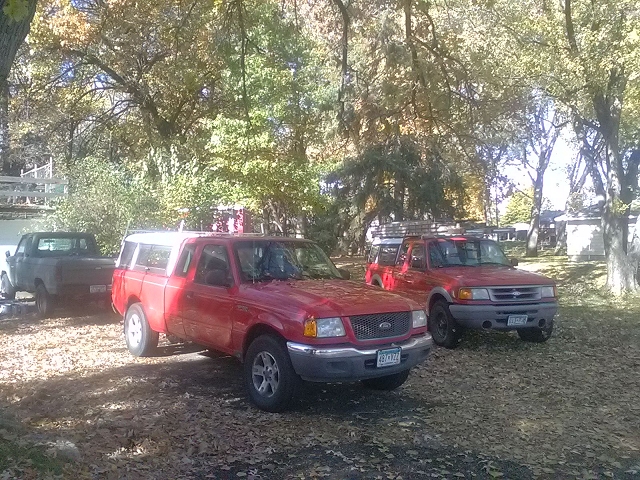
I've fallen in love with my trucks all over again. I might yet convert the 1987 Ranger in the background (with severe engine issues) to electric. It would be a simple do-it-myself project resulting in a simple and dependable residential vehicle. It all takes time and money.
Here's the egr valve bypass story and picture: (from one of my web pages) Perhaps this description of my successful egr bypass on my 1995 Ford Ranger will apply adequately to your vehicle. For someone (like me) who drives his truck only occasionally, the following bypasses are not necessarily poor environmental choices. I drive my truck less than 1,000 miles per year. Consider the environmental impact of producing a new truck. My rusty egr valve assembly fell apart (or "blew up" to quote my mechanic). My mechanic suspected that my catalytic converter might be plugged up and perhaps contributed to my egr valve's demise. Out of prudence, I bypassed my catalytic converter prior to bypassing my egr valve. I have no photos from before the egr bypass, but below you'll see the photo taken after the egr bypass. Refer to this photo while reading the text below the photo.This was almost entirely guess-work. I could hardly believe it when it actually worked perfectly. The procedure: "A" is the metal pipe whose top was, and still is, slid into the intake manifold. That pipe has now been cut near its low end and plugged with epoxy plumber's putty. Shove plenty of putty into it as deep as you can. Since I left what's left of the egr assembly in place, I used it as a brace to hold pipe "A" in place; otherwise pipe "A" would slip down and out of the intake manifold. In other words, the top portion of pipe "A" (which has been plugged at its low end) is held in place by the bottom portion of pipe "A". (The bottom portion of pipe "A" is still attached to the defunct egr assembly.) You'll see that I used epoxy plumber's putty (with some washers filling the space left by the saw cut) as my crude splint. I think you'll find a way to make a cleaner splint/brace. And note that even though I left the remains of the egr assembly in place, it is not connected to anything. ----- Smooth rubber tubes "B" and "C" are left connected to the rectangular gizmo near the top of the engine. Rubber tube "B" has the smaller diameter of those two smooth rubber tubes. Its low end is now connected to the low end of the ribbed rubber tube "D" which remains connected at its top to some gizmo "E". Both those tubes (B and D) were initially connected (at their low ends) to some area of the egr assembly. ----- Tube "C" (the fatter smooth rubber tube) was initially connected at its low end to a small metal tube coming out of the large egr metal pipe "F". Tube "C" is now plugged with a bolt. The two short yellow lines in the photo show where tube "C" was cut. (Gravity is causing the low end of tube "C" to dangle lower than before it was cut.) ----- Large nut "G" is what the metal pipe "F" from the egr assembly had been attached to before I broke the pipe off from that nut. It encases the pipe coming from the exhaust, just below the exhaust manifold. It has now been plugged with epoxy plumber's putty. Shove plenty of putty into it as deep as you can. (Alternatively, you could saw through pipe "F" without breaking it off from nut "G", and then just plug the portion of the pipe leading to the nut "G".) My saw cut of the metal pipe "F" is indicated by the short orange line on the photograph. ----- Leave all electical connectors plugged in. Before starting your engine, disconnect the negative terminal of your battery and leave it disconnected for at least five minutes. That will allow your truck's computer to reprogram itself to accomodate the new configuration once the engine is started. It might take fifteen minutes of driving for the computer to fully adjust. archives/current